Updated: 9/25/2023 Original: 1/1/2020
If you are a baker you know how important it is to have quality vanilla extract in your pantry. This is why I always have a couple of jars of homemade vanilla extract in various stages in mine.
Making homemade vanilla extract requires patience as it takes time for that vanilla flavor to fully infuse into the alcohol. This is why having a few bottles brewing is such a good idea!
Please note, this post contains product affiliate links. As an Amazon Associate, I earn a small commission from qualifying purchases.
Where Does Vanilla Come From?
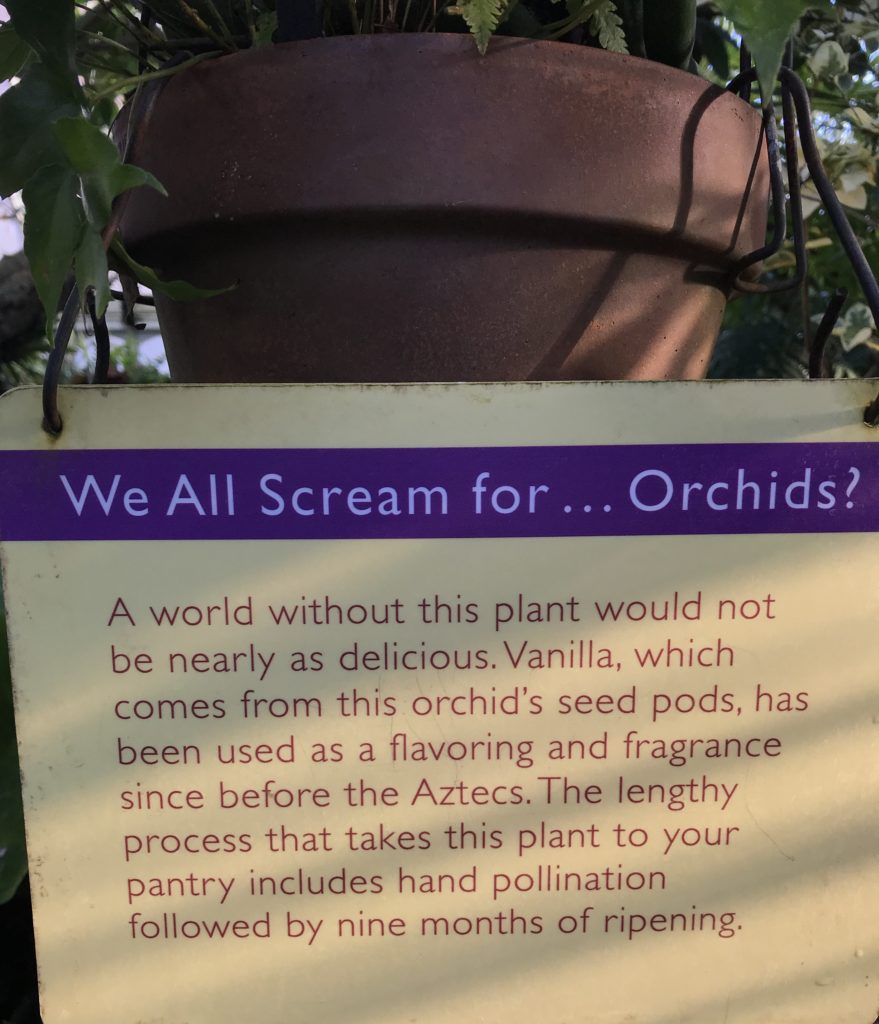
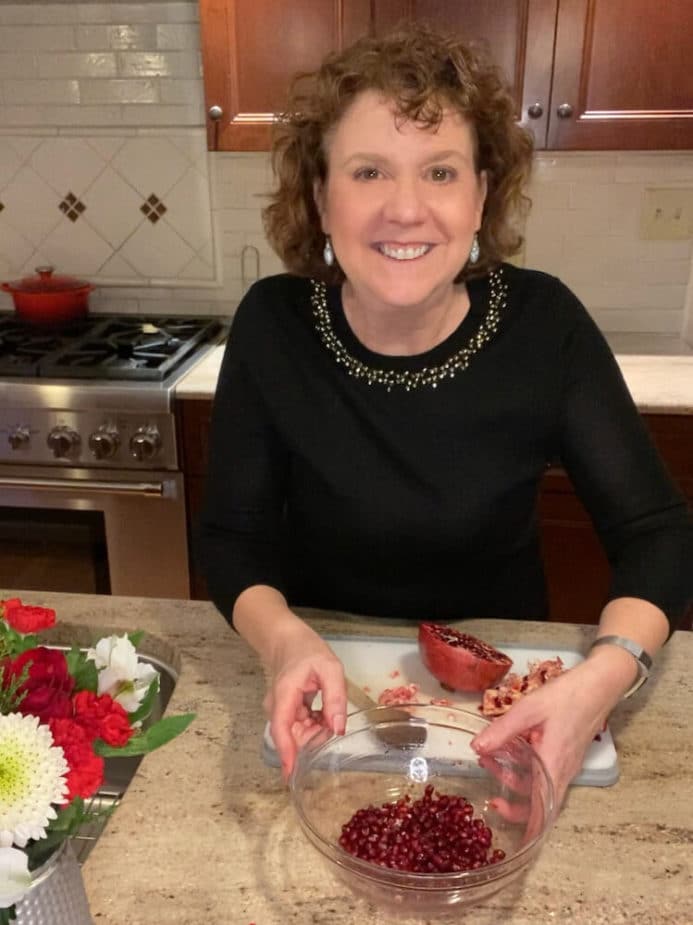
Phipps Conservatory, Orchid Room
I was reminded that orchids are where vanilla beans come from on a visit to Phipps Conservatory in Pittsburgh.
You might be thinking of the beautiful orchid so many of us try to grow as a houseplant.
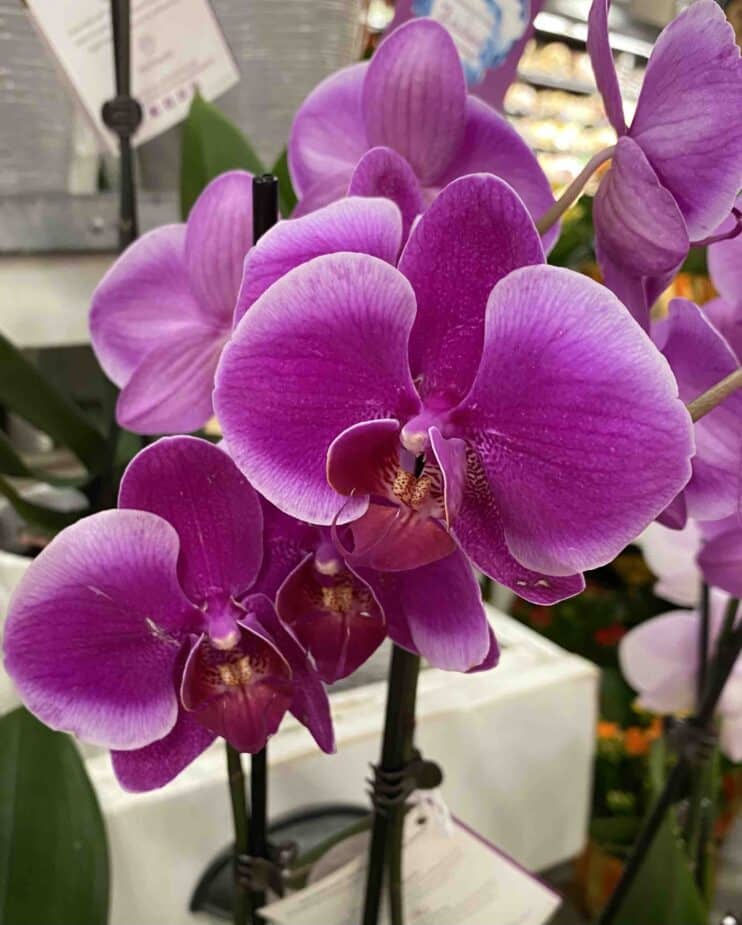
But, vanilla beans come from a climbing orchid grown in tropical areas. When the flower on this plant blooms it is hand-pollinated. They have just one day to do this as the bloom dies quickly.
The vanilla pods slowly grow and are harvested after 6 – 9 months. They are dried to just the right moisture content and vacuum sealed or sealed in a glass jar and sold.
Each area or growing region processes the pods slightly differently which you can read about here.
Vanilla beans are grown close to the Equator.
The most common is Madagascar vanilla. (Madagascar is an island off Africa) It is typically a Grade A or “gourmet” bean that is used in cooking and gourmet extract is made from this bean. It is a bit more expensive than vanilla from other regions. It has a sweet, mild vanilla flavor and is probably the type you are most used to seeing.
Vanilla beans also come from Mexico, Uganda, Tahiti, and Indonesia. What is the difference? Well, like wine or the grapes used to make wine, the area the vanilla beans are grown, or terroir, contributes to the flavor and aroma of the vanilla.
- Mexican Vanilla – Vanilla originated in Mexico. The beans grown here are described as sweet and a little spicy. I have not found Mexican vanilla beans to try yet, but I understand they are a treat and have a beautiful sweet flavor that pairs well with chocolate!
- Tahitian Vanilla – This small tropical island grows a slightly different breed of vanilla, which has been cross-bred with two vanilla species to create this Tahitian vanilla. These beans have a sweet, floral vanilla and you can often find these beans in your local grocery store.
- Indonesian Vanilla—The beans from Indonesia are mass-produced and usually grade B beans. This type is recommended for making homemade vanilla extract. They may be a bit more brittle and dried out, which makes them perfect for long soaking in vodka or bourbon.
Vanilla beans can dry out quickly, so when you purchase them, make sure they look moist and pliable, not dry and cracked, and plan on using them immediately.
How To Make Vanilla Extract
Making homemade vanilla extract is simple, it just takes 2 ingredients, the right equipment, and time – lots of it! Follow these step-by-step instructions for how I make a vanilla extract (based on my trial and error!) or watch the video at the end.
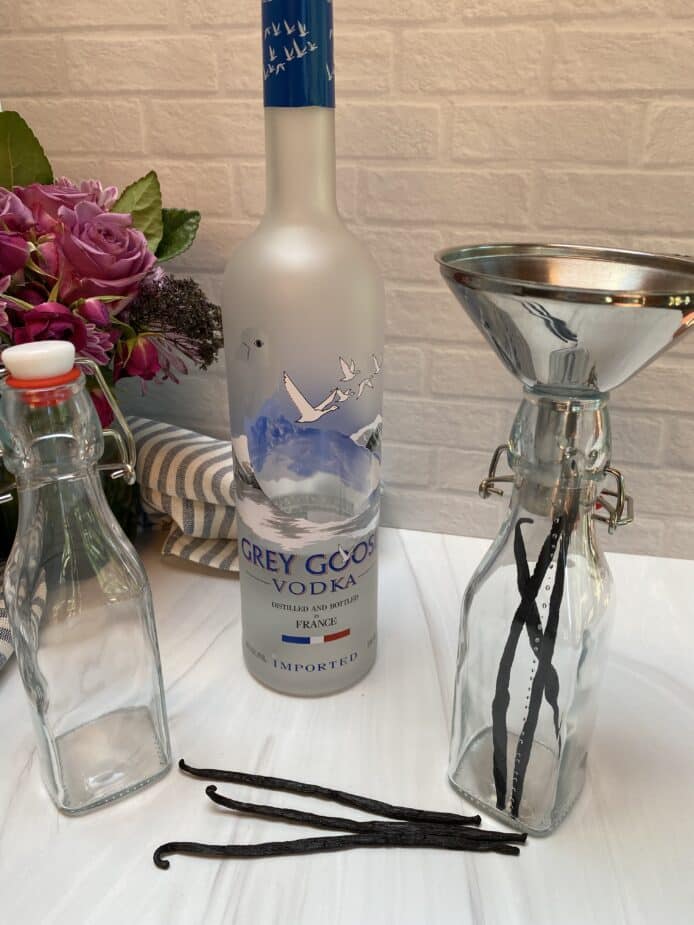
Always start with a clean bottle (make sure it is clean and sterilized* before using it. See the quick tip below) I like these swing-top bottles the best. They are pretty and they make a nice gift too.
Step 1:
Measure the vanilla beans to make sure they will fit in the jar and the liquid covers them completely. If not, cut the bean in half.
Some people like to split the bean down the center to allow the vanilla “caviar” to escape into the extract.
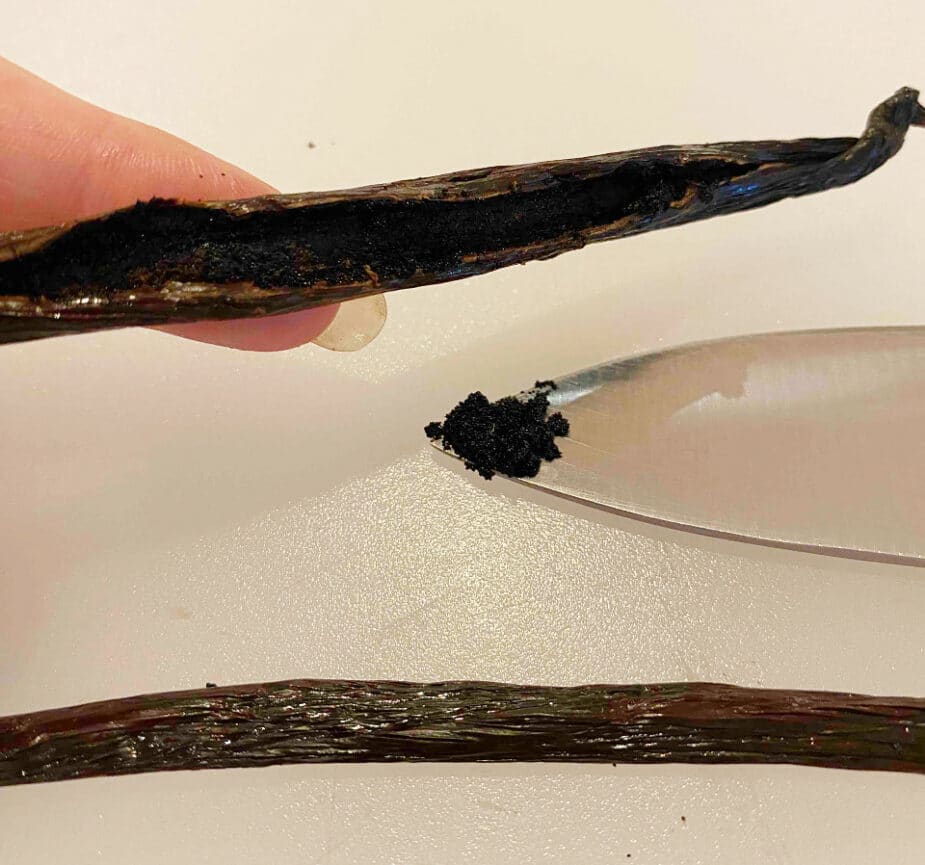
It might speed up the process slightly but it does leave some vanilla “specs” in the liquid and isn’t necessary.
If you prefer a “clear” extract, keep the beans whole, just know that it may take a little longer to get that full vanilla flavor.
Step 2:
Add the beans to the jar. The number of beans can vary slightly but I’ve found that 3 – 4 beans for an 8 oz. jar is a perfect ratio for me. Some people recommend going up to 5 for a more concentrated vanilla flavor, but I haven’t found that to be necessary. Play with it and find the ratio that is best for you.
Step 3:
Pour about 7 oz. of vodka (a decent quality vodka is fine – you don’t need the most expensive brand for this!) over the beans, ensuring the liquid completely covers the beans. Then seal it up and put it in a dark place for a couple of months at least.
Step 4:
Give the bottle a quick shake every few days at first and then once a week as it sits. Don’t worry if you miss a week or forget. The beans are still releasing vanilla into the liquid, but shaking it will distribute the flavor throughout the liquid and speed the time up a bit.
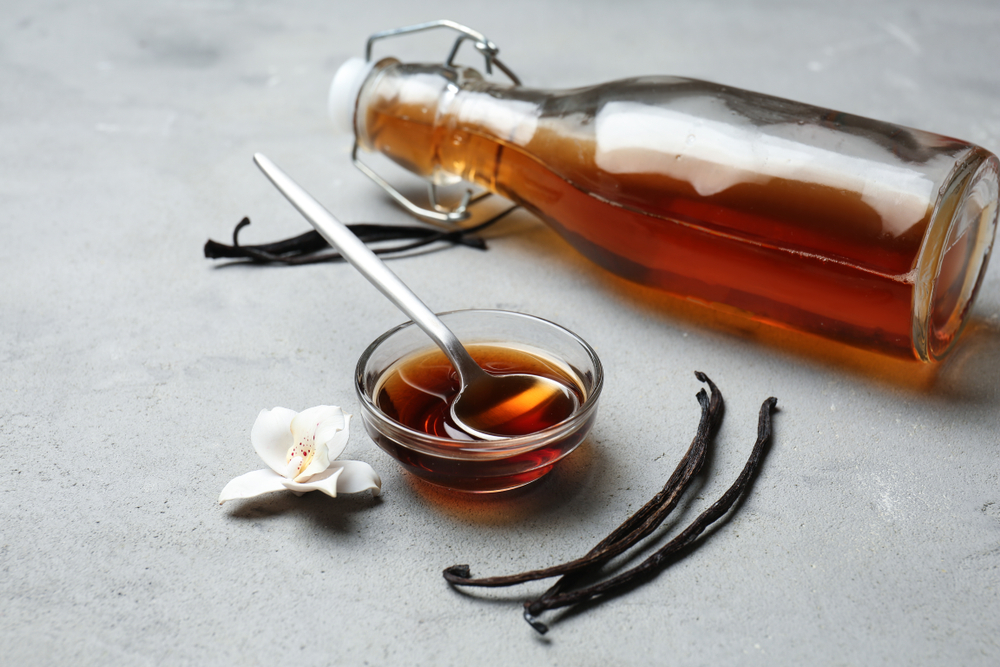
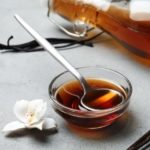
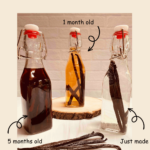
You’ll see it gradually turn to a beautiful brown color and when you open the top you should have a sweet vanilla scent. If it smells more like alcohol it may need a bit longer to “marinate.” 4 – 6 months is about how long you’ll need but, always give it the smell test before using it.
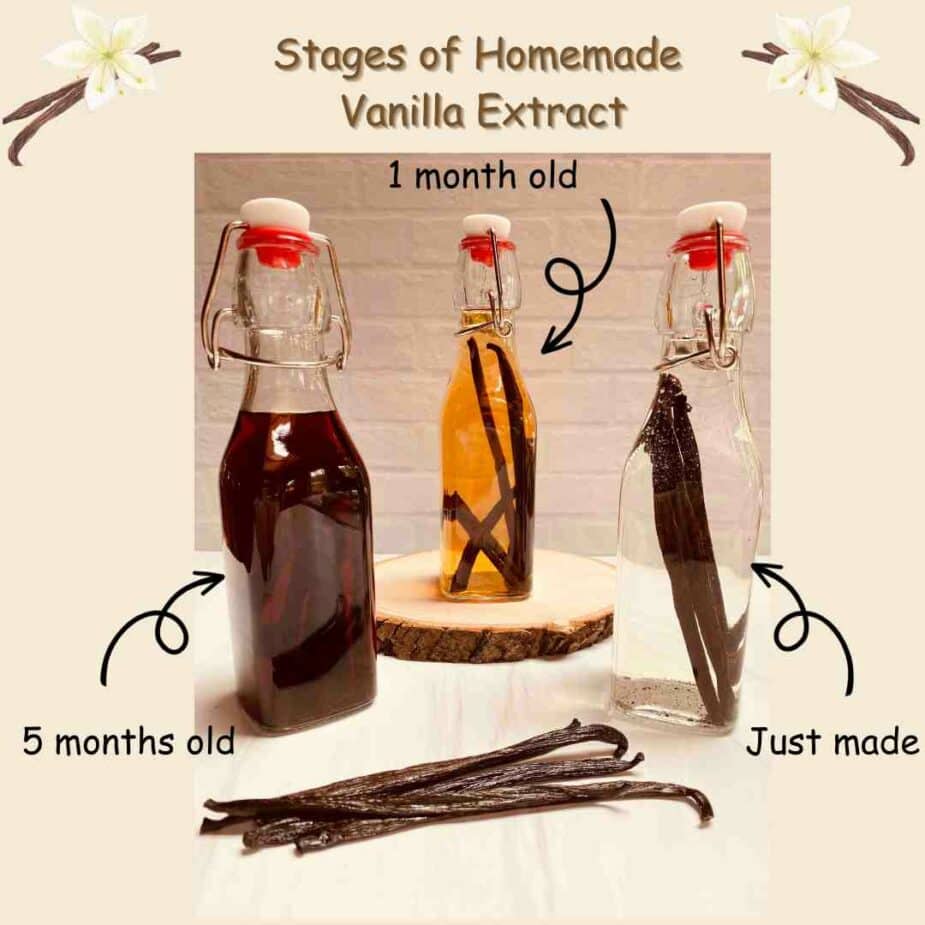
Don’t throw those beans away when you are finished! Use them to make vanilla sugar or scrape the “caviar” that is left and add it to vanilla ice cream or mix it into the batter of your next baked good for an extra vanilla flavor.

To sterilize the jar, run it through the dishwasher (as long as it is dishwasher safe) or place it in a pot of warm water, covering the jars, and bring the water to a boil. Allow it to boil for at least 10 minutes. Turn off the heat and let it cool slightly. Remove the jar from the water with tongs and place it on a clean towel to air dry.
FAQs
While making vanilla extract is easy you may still have some questions about the process, how long it takes, and how best to store it. Here are a few questions I get asked a lot and my answers – based on my experience!
I think this is a personal preference. Splitting the bean allows more surface area of the bean and the vanilla “caviar” to be exposed to the liquid, potentially speeding up how quickly the extract is made. But if you have time and you prefer a clear extract, keeping them whole and letting them soak for 6 months or more still makes a delicious vanilla extract.
You can use vodka, bourbon, or another type of alcohol to make vanilla extract. Since vodka doesn’t have any flavor it makes a clean, pure extract. Bourbon will give it a smokey flavor, which may also be nice.
I’ve also heard of people using rum, but I haven’t tried that.
According to the Food and Drug Administration (FDA), the Standard of Identity for vanilla extract says that it should be not less than 35% ethyl alcohol by volume. An 80-proof vodka is 40% alcohol by volume, so this works.
So, yes, you need alcohol to make true vanilla extract. With that being said, you can make vanilla “like” extract without alcohol, by using a food-grade vegetable glycerin. A substitute for the alcohol.
Vanilla beans come from different areas and have different grades assigned to them.
Grade A is called a “gourmet” bean. It is supposedly a softer bean that is easier to cut and extract the vanilla “caviar” from the inside to use in cooking.
Grade B is typically recommended for making homemade vanilla extract. These beans are supposed to be drier and perfect for long soaking in alcohol.
I’ve used both – and maybe I’ve been lucky but both beans were easy to cut open and use.
I’ve found it takes at least a few months before the extract is ready. 4- 6 months is ideal. Splitting the beans helps a little and shaking it periodically also helps.
The liquid should be dark brown and sweet vanilla-scented. If it still smells mostly like alcohol, it probably needs some more time.
No, vanilla extract does not expire but it might lose some flavor over time. Storing it properly, in a cool, dark place will help preserve its flavor.
Keep your extract in a cool, dark cabinet, away from light. If you have an amber-colored bottle to store it in this will help preserve its flavor.
Don’t throw those used vanilla beans away, you can use them for other things! Remove them from the extract and scrape the inside caviar out. Add this to granulated sugar and blend it to make vanilla sugar. Or mix a little it into ice cream, french toast, pancake mix or anywhere else you might like a burst of vanilla flavor. Just keep in mind a little goes a long way!
Resources
As an Amazon Associate, I earn a small commission from qualifying purchases.
Vanilla Beans :
You can find them in some larger grocery stores, although they are expensive to buy this way. Penzey’s Spices also carries them. This is also a bit of an expensive way to buy them, but if you just want a few beans to try this experiment, both are good options.
But honestly, the place I typically buy mine is through Amazon. I’ve been surprised at how fresh they are and the quality is excellent. Plus you can choose from a variety of package sizes.
Bottles:
I like these swing-type bottles to make my extract. They seal nicely and are easy to store. They are also easy to use when the vanilla is ready. And if you decide to give them as gifts, they are pretty and you can add a fancy label and pretty ribbon to them.
Final Thoughts
Making your own vanilla extract is super easy. I’m sure it’s not any less expensive making it myself, but there is something about knowing I’ll never run out! I always have a bottle or two “marinating” throughout the year.
A good tip is that when you open a new jar, get another one started right away so you’ll always have a fresh jar ready to go!



4 thoughts on “How to Make Your Own Vanilla Extract”
Where do you buy the vanilla beans?
Hi Rosanne,
I buy my beans either at Penzey’s or honestly, most of the time I just order them on Amazon. I’ve been surprised at how fresh they are when I get them through Amazon. You can also sometimes find them in the spice section at larger grocery stores but they tend to be more expensive buying them that way.
I’ll add both links to the blog post so you can find them easily. Thanks for reaching out and have fun making your extract!
Laura
How do you make vanilla sugar?
Hi Claudine,
Oh, vanilla sugar is so easy to make! Put 1 cup of granulated sugar in a food processor or blender. Then, I take 1 vanilla bean and split it down the middle, length-wise. Scrape out all of the vanilla “caviar” or the paste that is inside the bean. Add it to a cup of granulated sugar and quickly pulse it in the food processor or blender to combine it thoroughly. You should see little specs of vanilla throughout the sugar. Then I store it in a jar with a tight lid and use it in tea or coffee. I’ll post a video as soon as I can so you can see how to do it! Thanks for asking about this!
Laura